执行 npm 安装操作
1
| npm i hexo-githubcalendar --save
|
修改_config.yml
1
2
3
4
5
6
7
8
9
10
11
12
13
14
15
16
17
18
19
20
|
githubcalendar:
enable: true
priority: 3
enable_page: /
user: your user name
layout:
type: id
name: recent-posts
index: 0
githubcalendar_html: '<div class="recent-post-item" style="width:100%;height:auto;padding:10px;"><div id="github_loading" style="height:100%;display: flex;align-items: center;justify-content: center;"><svg style="height:50px" xmlns="http://www.w3.org/2000/svg" xmlns:xlink="http://www.w3.org/1999/xlink" viewBox="0 0 50 50" style="enable-background:new 0 0 50 50" xml:space="preserve"><path fill="#d0d0d0" d="M25.251,6.461c-10.318,0-18.683,8.365-18.683,18.683h4.068c0-8.071,6.543-14.615,14.615-14.615V6.461z" transform="rotate(275.098 25 25)"><animateTransform attributeType="xml" attributeName="transform" type="rotate" from="0 25 25" to="360 25 25" dur="0.6s" repeatCount="indefinite"></animateTransform></path></svg></div><div id="github_container"></div></div>'
pc_minheight: 248px
mobile_minheight: 0px
color: "['#ebedf0', '#fdcdec', '#fc9bd9', '#fa6ac5', '#f838b2', '#f5089f', '#c4067e', '#92055e', '#540336', '#48022f', '#30021f']"
api: your api
calendar_js: https://cdn.jsdelivr.net/gh/Zfour/hexo-github-calendar@1.21/hexo_githubcalendar.js
plus_style: ""
|
api获取
这一步是这个魔改的关键,由于免费的公用api被墙了,所以我们需要自己去搭建一个属于自己的api获取我们github的贡献日历
xxxxxxxxxx # Inject# Insert the code to head (before ‘</head>’ tag) and the bottom (before ‘</body>’ tag)# 插入代码到头部 </head> 之前 和 底部 </body> 之前inject: head: # 零零散散的css - bottom: # 显示FPS - -
yml
进入这个Vercel官网,然后首先是注册你自己的账号,最好是使用我们自己的github账号去注册,关联一下自己的邮箱
右上角头像点击打开dashboard,进入到我们的项目添加页里面
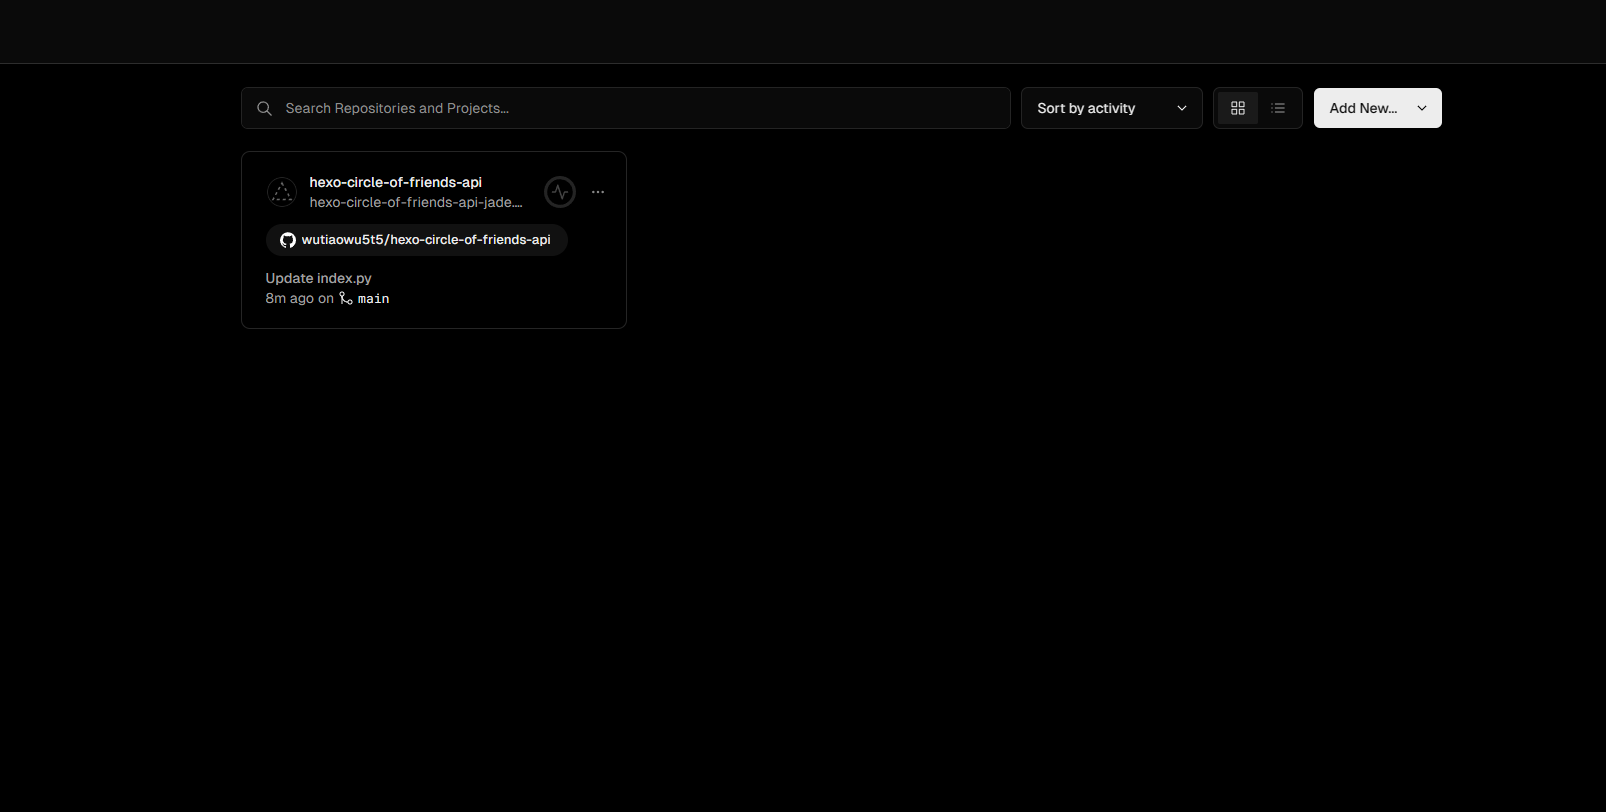
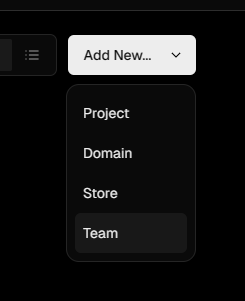
然后点击右上角Add New,选择Project
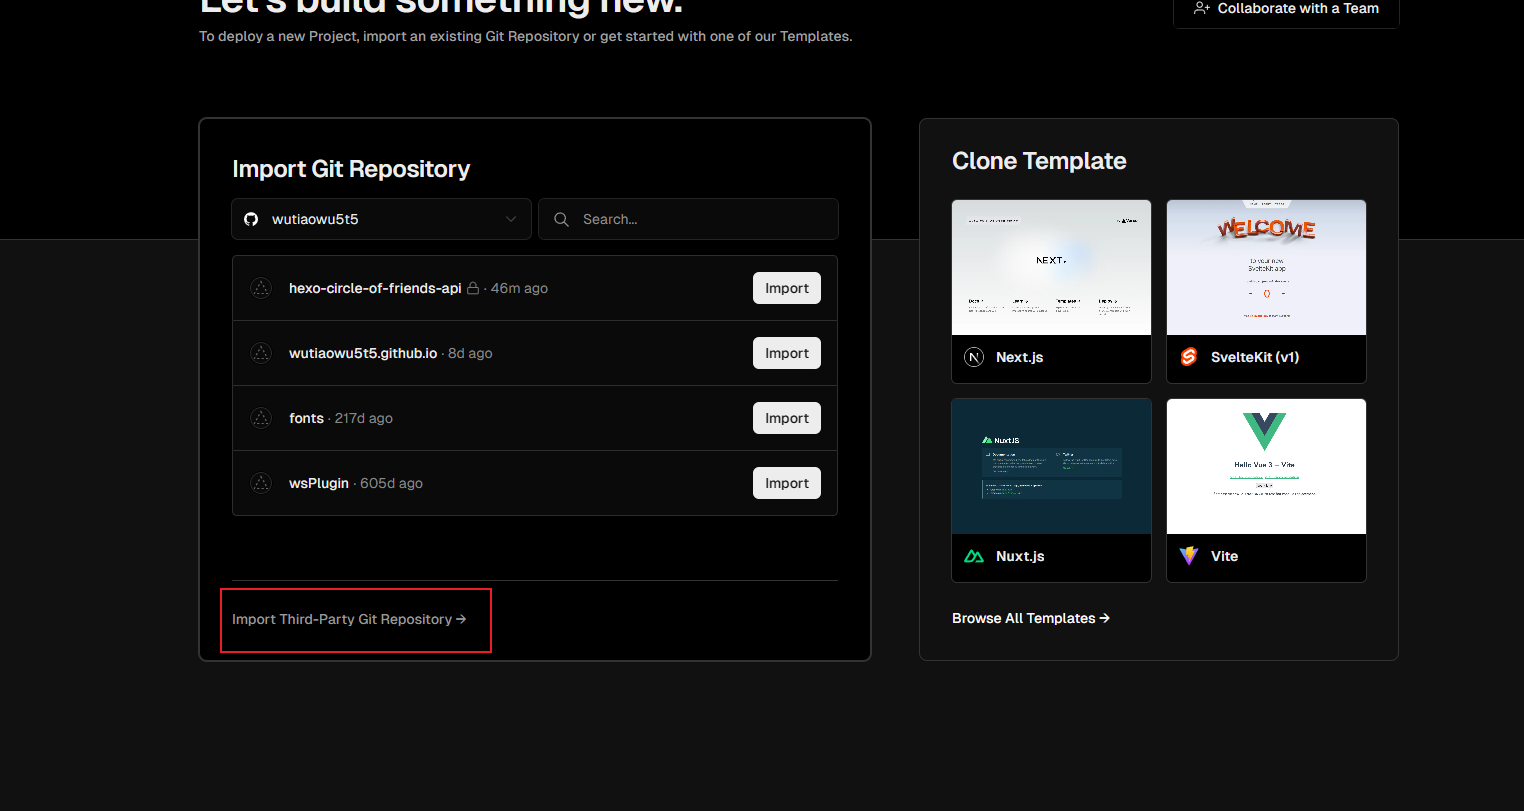
点击导入第三方库
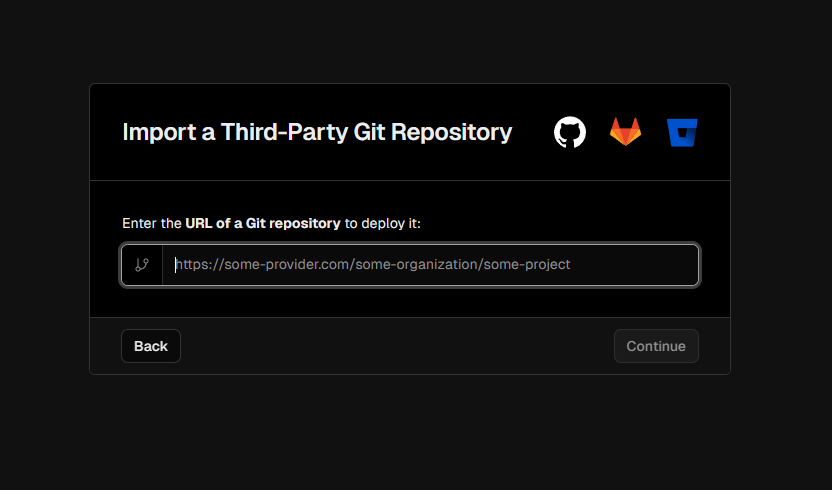
这里填上我给的链接
点击完成之后,写你自定义的仓库名称,最后再点击部署,等待部署成功就可以使用这个api了
最后就是我们的验证步骤
你部署好的项目里面有一个这个Domains,点进去之后,复制搜索框里面的link
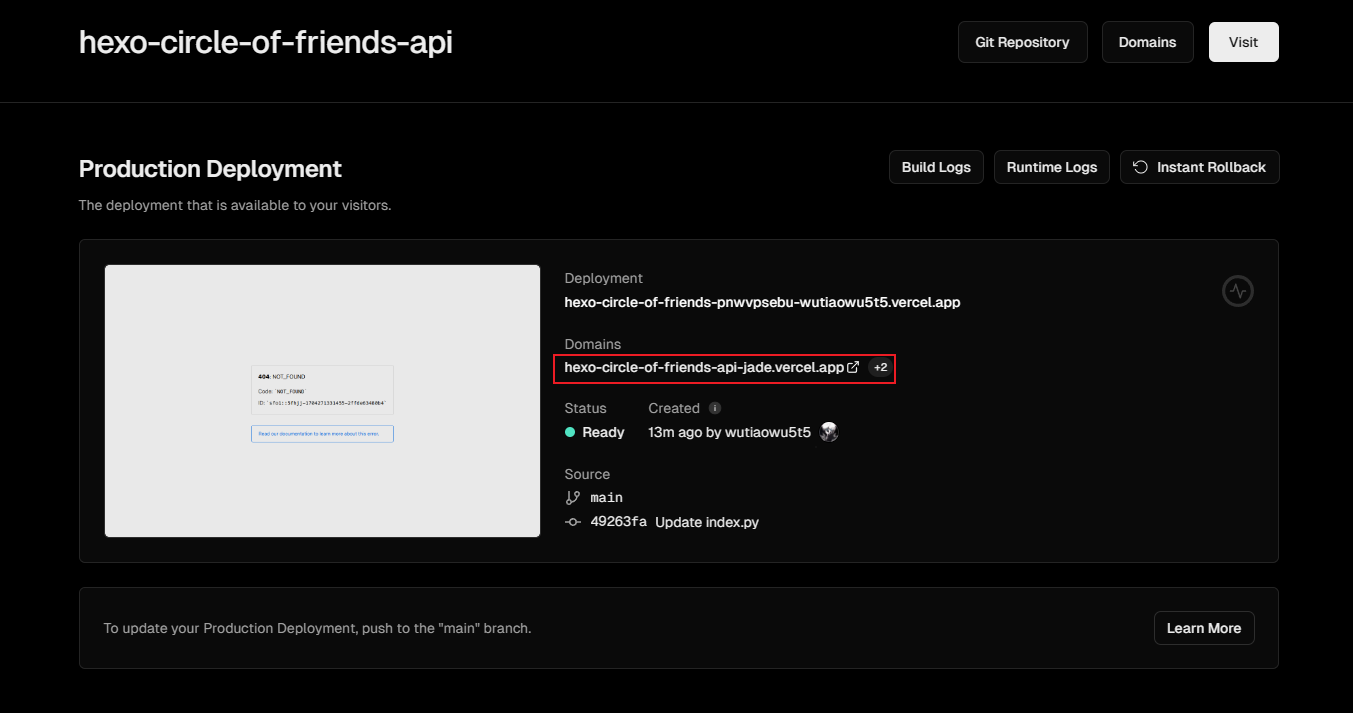
1
| <search link> + /api + ?<your username>
|
如果出来数据就是成功,填入我们的配置里面只需要<search link> + /api
修订记录
2024-04-22
vercel的传参方式改变了,需要带上=,否则将会获取不到数据
修改方式:
找到自己的github导入的第三方库项目,修改py文件
源码复制地址
修改_config.yml
1
| user: user=<your username>
|


